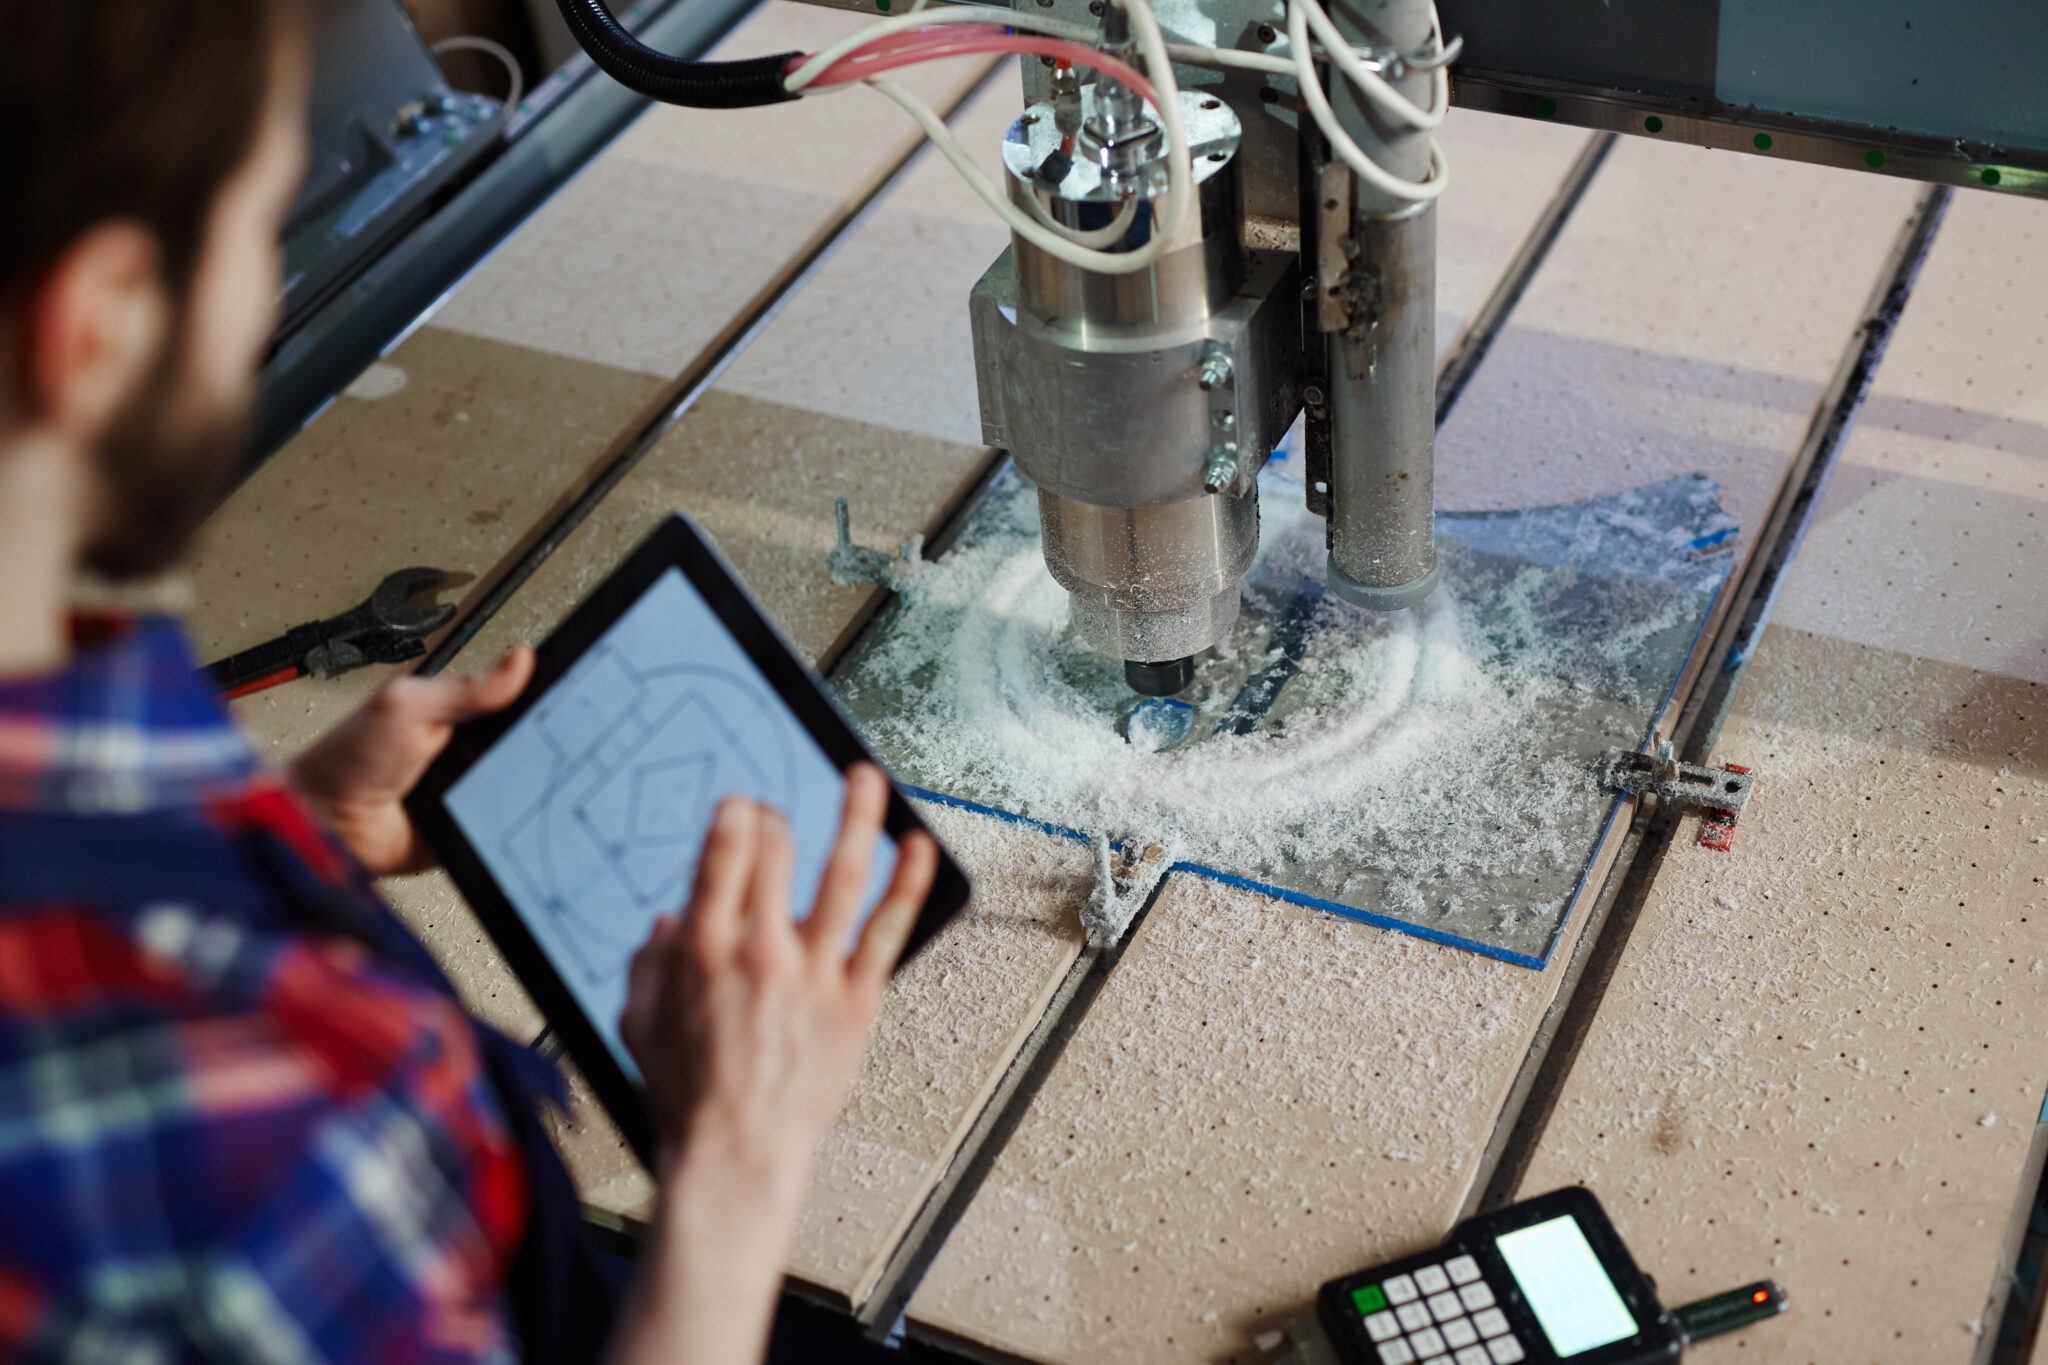
Precision Custom Injection Molding for Automotive Components and Parts
Custom injection molding automotive is the precise engineering of plastic components tailored for vehicle-specific performance, durability, and weight reduction. By injecting molten polymer into intricately designed steel molds, it produces complex parts like interior trims, under-hood components, and lighting housings with exacting tolerances. This process delivers unmatched consistency and scalability, enabling automakers to achieve lightweight, high-strength parts without compromising design freedom or production speed. Use it to replace metal assemblies with single-piece, corrosion-resistant solutions that improve fuel efficiency and simplify assembly.
Precision Plastic Components for Modern Vehicles

For modern vehicles, precision plastic components created through custom injection molding automotive processes are essential for lightweight durability. You get tight-tolerance parts like sensor housings, interior bezels, and under-hood connectors that withstand heat and vibration without warping. Custom injection molding automotive allows you to integrate complex geometries—such as snap-fits or threaded inserts—directly into a single plastic part, reducing assembly steps and potential failure points in critical systems like fuel rails or air intake manifolds. The ability to select engineered resins means you can match specific performance needs, from UV-stable exterior trims to high-strength structural brackets, all while keeping weight down for better fuel efficiency.
High-Tolerance Parts for Engine Compartments
Underhood environments demand high-tolerance parts for engine compartments that withstand extreme thermal cycling, oil exposure, and vibration. Precision injection molding achieves this by using engineering-grade resins—such as PPA or PEEK—which maintain dimensional stability above 150°C. The process must account for anisotropic shrinkage during cooling to hold critical features like sealed connector housings within ±0.05 mm.
- Select a high-heat polymer matching continuous-use temperature and chemical resistance.
- Design mold gating and cooling channels to mitigate warpage in complex geometry.
- Program injection speed and packing pressure to eliminate voids in thick-wall sections.
- Validate dimensions using CMM or CT scanning for seal-surface flatness.
Each step prevents leakage or failure in systems like turbo coolant ducts or camshaft sensors.
Lightweight Solutions for Fuel Efficiency Standards
Custom injection molding directly addresses fuel efficiency standards by enabling precise, mass-reduction strategies within vehicle structures. Advanced polymers and foaming agents integrate into thin-wall designs, lowering component mass without sacrificing crash integrity. Replacing metal brackets with glass-filled nylon reduces weight by up to 40% while maintaining load-bearing performance. Multi-cavity tooling produces uniform, lightweight clips and housings that cut parasitic drag via streamlined assembly. High-flow resin grades allow deeper ribbing and wall thickness reductions, maximizing stiffness-to-weight ratios under hood and in cabin. Each gram saved through optimized mold geometry directly lowers fuel consumption across the powertrain lifecycle.

Material Selection for Under-the-Hood Durability
Under-hood durability in custom injection molding automotive applications demands materials engineered to resist sustained thermal spikes, chemical erosion from fluids like oil and coolant, and cyclic vibration. Selecting reinforced semi-crystalline polymers such as PPA or PPS, often with glass or mineral fillers, provides dimensional stability across a wide temperature range while minimizing creep under constant load. The key property to prioritize is continuous-use temperature rating—typically exceeding 150°C for proximity to engine blocks. Additionally, hydrolysis resistance is non-negotiable for components like sensor housings or connectors, necessitating grades with specialized stabilizers. Material selection for under-the-hood durability ultimately hinges on balancing thermal endurance against chemical exposure profiles specific to the engine bay layout.
Tailored Molding Processes for Automotive Needs
Tailored molding processes for automotive needs focus on precise material and design adjustments within custom injection molding. For high-stress under-hood components, glass-filled nylon with optimized cooling channel layouts ensures thermal stability. Multi-cavity tooling with sequential valve gating is employed for large, thin-wall body panels to minimize warpage. How does gas-assist injection molding benefit automotive interior trim? It creates hollow channels that reduce material weight while maintaining structural integrity for parts like grab handles. For engine bay connectors, overmolding soft TPE onto rigid PBT substrates provides vibration damping and sealed contacts. Each process parameter is dialed in per application—melt temperature, injection speed, and pack pressure—to meet tight dimensional tolerances and surface finish requirements specific to automotive-grade components.
Overmolding Techniques for Multi-Material Assemblies
In automotive custom injection molding, overmolding techniques for multi-material assemblies bond a soft thermoplastic elastomer directly onto a rigid substrate in a single or sequential cycle, eliminating secondary adhesives. This process integrates functional grips, seals, or vibration-dampening layers precisely over complex contours, enhancing part durability and user touch. Optimizing material compatibility and melt temperatures is critical to prevent delamination under thermal or mechanical stress. Sequential overmolding uses a transfer tool for the second shot, while two-shot molding cycles both materials in one machine, reducing cycle time. Fine-tuning gate placement ensures the molten overmold flows uniformly without displacing the textured core.
Overmolding techniques fuse hard and soft polymers into one durable automotive component, streamlining assembly and improving tactility.
Insert Molding for Threaded and Metallic Inserts
Insert molding for threaded and metallic inserts creates permanent, high-strength attachment points directly within automotive components. The process begins by precisely positioning a metal insert, such as a brass or steel threaded bushing, into the mold cavity. Molten plastic then encapsulates the insert, locking it into place as it cools. This eliminates post-molding assembly steps like tapping or ultrasonic insertion. The plastic shrinks around the insert’s knurled or undercut surface, ensuring torque resistance and pull-out strength. A typical sequence is:
- Load the metallic insert onto a robotic arm or mold core pin.
- Close the mold and inject the polymer around the insert.
- Eject the finished part with the insert fully embedded.
This method is ideal for dashboard mounting brackets and sensor housings requiring durable threaded metal inserts for repeated disassembly.
Gas-Assist Molding for Complex Hollow Geometries
For complex hollow geometries in automotive parts, gas-assist molding is your go-to for reducing weight without sacrificing strength. Instead of packing solid resin into thick sections, inert nitrogen gas is injected through the nozzle or into the mold cavity, pushing the melt against the cooler mold walls. This creates smooth internal channels and reduces sink marks on exterior panels, which is huge for parts like door handles, mirror brackets, or fluid ducts. You also get faster cycle times since less material needs to cool.
| Feature | Gas-Assist Molding |
| Hollow geometry | Creates uniform internal cavities |
| Weight reduction | Up to 30–50% vs. solid core |
| Surface quality | Minimizes sink marks and warpage |
Prototyping to Production: Streamlined Development
In custom injection molding for automotive, streamlined development bridges the gap between prototype validation and full-rate production by utilizing the same tool steel and gating design from early-stage parts. This eliminates costly geometry surprises, ensuring that form, fit, and functional testing directly translate to production-ready components. A critical question arises: « How does this approach reduce time-to-market? » By skipping secondary mold iterations and validating process parameters like pack pressure with a single set of tooling, engineering teams shave weeks off the launch schedule while maintaining ISO-spec tolerances. The result is a seamless handoff from rapid prototypes to high-volume automotive runs, with zero downstream rework.
Rapid Tooling for Concept Validation
Rapid tooling for concept validation lets you hold a real, functional part in your hands before committing to production steel. By using aluminum or 3D-printed inserts, you can test fit, form, and function of an automotive component—like a bracket or housing—under real-world conditions, all within days instead of months. This approach catches geometry and assembly issues early, saving costly rework later. Iterative design refinement becomes painless because you can tweak the tool and re-run parts quickly, ensuring the final product meets specifications.
How soon can I expect my first validation parts with rapid tooling? Typically, you’ll have usable samples in 1–4 weeks, depending on part complexity and material choice.
Bridge Tooling Strategies for Market Testing
For custom injection molding automotive projects, bridge tooling strategies accelerate market testing by leveraging soft or low-volume tooling to validate real-world performance before committing to high-production steel molds. This approach allows you to run limited production runs—often hundreds to thousands of parts—using aluminum or 3D-printed inserts. A key tactic is rapid iterate feedback loops, where design modifications based on test results are quickly incorporated into the bridge tool, slashing weeks from the timeline. Use the table below to compare material-specific bridge strategies:
| Strategy | Automotive Application | Cycle Time Impact |
|---|---|---|
| Aluminum bridge tooling | Interior trim clips | 30% faster than steel |
| 3D-printed conformal cooling | Headlamp housings | Reduces warpage testing |
| Silicone rapid tooling | Soft-touch overmolds | Enables same-day design revisions |
Production Tooling Optimized for High Volumes
For high-volume automotive production, tooling is engineered with hardened steel and advanced cooling channel designs to optimize cycle time and dimensional consistency. Steel alloys like H13 or S7 withstand millions of cycles without warping, while conformal cooling lines reduce part ejection time by up to 30%. This high-volume production tooling integrates runnerless hot runner systems to eliminate regrind and maintain repeatability across shifts. Multi-cavity layouts are precision-machined to deliver identical parts per shot, directly supporting lean manufacturing targets.
- Hardened tool steel for extended lifespan under continuous injection cycles
- Conformal cooling channels for uniform temperature control and faster cycles
- Hot runner systems to reduce waste and ensure consistent material flow
- Multi-cavity tooling to maximize output per press cycle
Advanced Surface Finishes and Aesthetics
In custom injection molding for automotive, advanced surface finishes elevate interior and exterior components beyond basic function. Techniques like laser etching create precise, durable grain patterns that replicate luxury leather or carbon fiber, while specialized high-gloss tooling polishes yield a Class-A mirror finish resistant to scratches and UV degradation. Textured surfaces, achieved through chemical etching or EDM, provide tactile refinement and reduce glare on dashboards and door panels. A key insight:
For automotive parts, mold surface texturing is integrated into the tool steel itself—not applied post-production—ensuring the aesthetic is maintained for the lifespan of the vehicle, even against heat and abrasion.
This eliminates paint adhesion issues and allows for cost-effective, monolithic parts that integrate both structural integrity and premium visual appeal directly from the molding process.
Textured Molds for Interior Trim Panels
Textured molds for interior trim panels leverage precise chemical etching or laser engraving to create consistent surface grain patterns directly on the tool steel. This eliminates secondary painting or film appliques, reducing per-part cost. For custom injection molding automotive applications, engineers specify texture depth and angle to control light reflectance and tactile feel while hiding sink marks inherent in ribbed panel geometries. The mold’s cooling channel layout must accommodate the non-uniform steel mass of deep textures to prevent warpage. Additionally, texture orientation relative to the mold’s draw direction dictates required draft angles, typically 3° to 5° for medium grains, to avoid part sticking or surface scuffing during ejection.
Gloss and Matte Control for Dashboard Components
Precision in dashboard gloss and matte control is achieved through specific mold texturing and resin formulation. A steel mold’s surface finish—whether polished to a mirror gloss or EDM-textured for a matte effect—directly transfers to the part. For low-reflectivity dashboards, engineers specify fine grit blasting or chemical etching to reduce glare. Gloss levels are fine-tuned by adjusting mold temperature and injection speed, as slower fills can alter polymer crystallization and surface sheen. Matte finishes often require a textured tool surface paired with a filled polypropylene or ABS to prevent sink marks. This eliminates the need for post-mold painting, ensuring consistent, scratch-resistant surfaces.
Paint-Ready Plastic Surfaces Without Secondary Operations
In custom automotive injection molding, paint-ready surfaces without secondary operations are achieved by precisely controlling mold finish, resin flow, and cooling rates. This eliminates the need for sanding or priming, so parts emerge from the mold with a flawless, adhesion-promoting surface. The material itself—often a high-flow ABS or polypropylene compound—is engineered to accept paint without ghosting or peel, drastically cutting cycle times. By integrating these properties into the tool design, manufacturers deliver glistening trim or bumper fascias straight off the press, ready for the spray booth.

Paint-ready surfaces from the mold eliminate sanding and priming, slashing labor while ensuring flawless paint adhesion for automotive components.
Cost-Effective Manufacturing Through Design for Manufacturability
In custom injection molding for automotive, Design for Manufacturability (DFM) directly reduces per-part costs by minimizing cycle times and material waste. Features like uniform wall thickness, generous draft angles, and avoiding sharp corners prevent warpage and sink marks, which would otherwise require costly secondary operations. Question: How does DFM cut mold costs? Answer: By simplifying core and cavity geometry, it reduces tooling complexity and fabrication hours, lowering the initial mold investment. Strategic gate placement and rib design also optimize material flow, ensuring consistent fill at lower clamp pressures, extending press life, and reducing scrap rates.
Gate and Runner Optimization to Reduce Scrap
Gate and runner optimization directly cuts scrap by balancing melt flow to every cavity in custom injection molding automotive. By precisely sizing the gate—thicker for high-flow ABS, thinner for viscous nylon—you prevent short shots or flash that generate waste. Runner geometry is tuned to minimize pressure loss and material volume; a cold runner designed with a trapezoidal cross-section reduces regrind, while a hot runner eliminates runner scrap entirely. This design-for-manufacturability approach ensures consistent fill without overpacking, lowering per-part material consumption and boosting yield in high-volume automotive runs.
Cycle Time Reduction with Advanced Cooling Channels

Integrating conformal cooling channels directly into the mold core and cavity drastically reduces cycle times in custom automotive injection molding. By following the part’s geometry, these advanced channels eliminate uneven heat dissipation, allowing uniform cooling that shortens the time the plastic must remain in the mold. This design-for-manufacturability approach minimizes warpage and sink marks, slashing post-molding rework. The net effect is a direct reduction in per-part cycle cost without compromising dimensional tolerances.
- Shortens overall cycle time by up to 50% compared to straight-drilled cooling lines.
- Maintains consistent mold surface temperature to prevent hot spots.
- Enables faster ejection of complex automotive parts like housings and brackets.
Mold Flow Analysis for First-Time-Right Parts
In custom automotive injection molding, first-time-right part validation relies on Mold Flow Analysis to predict plastic flow, cooling, and warpage before steel is cut. This simulation lets engineers identify weld lines, sink marks, and gas traps in complex geometries like connectors or brackets, enabling gate placement and runner balancing adjustments virtually. The result is immediate tooling corrections that eliminate costly rework and delayed production launches.
- Optimizes fill patterns to prevent short shots and burn marks in high-stress automotive components.
- Balances cooling channels to reduce cycle times and ensure uniform shrinkage across cavity arrays.
- Predicts fiber orientation in glass-filled materials to meet dimensional tolerances for metal-replacement parts.
- Validates multipoint valve gate sequencing for large, thin-wall panels like dashboards or door trims.
Sustainability and Regulatory Compliance
In custom injection molding automotive, sustainability and regulatory compliance are engineered into material selection and process validation. You must specify post-industrial recycled (PIR) polymers that meet OEM material performance specs to avoid compliance failures. Implementing closed-loop regrind systems for sprues and runners reduces virgin material use without compromising ISO 9001 or IATF 16949 traceability. For compliance, maintain documented lot-level data proving additives like flame retardants or UV stabilizers stay within restricted substance limits (e.g., REACH, RoHS). A practical step is switching to bio-based or glass-filled alternatives for interior components, as these often meet automotive low-VOC requirements while lowering your carbon footprint. Always pre-qualify mold release agents to avoid surface contamination that could fail adhesion or emissions tests.
Using Recycled Polymers in Non-Structural Parts
Using recycled polymers in non-structural parts is a smart, low-risk way to cut material waste without compromising performance. For interior panels, brackets, or under-hood covers, you can specify post-industrial or post-consumer regrind blended with virgin resin. This approach lowers your carbon footprint while keeping costs predictable through custom injection molding. It’s crucial to validate the recycled material’s melt flow index and impact resistance for your specific part geometry, but many closed-loop automotive projects already do this for aesthetic or protective components.
Meeting Automotive Flammability and Emissions Standards
Custom injection molding for automotive components demands strict adherence to FMVSS 302 for interior flammability and global evaporative emissions regulations. Material selection is paramount; you must specify flame-retardant grades (e.g., UL94 V-0 rated polycarbonate/ABS blends) and low-VOC polymers to prevent volatile organic compound off-gassing. Even subtle warpage from mismatched cooling rates can alter gasket sealing, creating fugitive emissions paths that fail test protocols. Process controls—like tuned melt temperatures and nitrogen-assisted molding—minimize micro-porosity in fuel-system parts, ensuring hydrocarbon retention. Thermogravimetric analysis (TGA) of incoming resin batches verifies emission profiles before production runs. Sealed tooling gates prevent flash that could burn or release fumes. How do you validate emission compliance for complex multi-layer ducting? Use a sealed SHED (Sealed Housing for Evaporative Determination) test on the final assembly, simulating thermal soak cycles to measure actual grams of hydrocarbon leakage per day.
Lightweighting Strategies for EV Battery Enclosures
When designing EV battery enclosures, lightweighting strategies through custom injection molding focus on material selection and structural efficiency. Using high-strength, glass-filled nylon or polypropylene compounds can reduce weight while maintaining FOX MOLD plastic injection mold manufacturer impact resistance. Wall thickness optimization, via computer-aided engineering, removes material from low-stress zones without compromising safety. Integrating ribs and honeycomb geometries during the molding process adds rigidity without extra mass. Foam-core injection molding also allows for a solid skin with a lighter interior. These approaches directly lower the enclosure’s weight, improving vehicle range and handling while supporting sustainability goals through reduced material use.
Quality Control and Precision Testing
In custom injection molding for automotive, quality control and precision testing begin with in-process monitoring of critical parameters like melt temperature, cavity pressure, and injection speed to prevent dimensional drift. Every production run undergoes first-article inspection (FAI) using CMMs to validate tight tolerances, often within ±0.01 mm for mating components. Material batches are tested for impact resistance (Izod) and thermal stability (HDT) to ensure long-term performance under hood. For complex parts, non-destructive testing such as ultrasonic scanning detects internal voids without damaging the workpiece. Statistical process control (SPC) charts track cycle-to-cycle variation, triggering immediate corrective actions if flow marks or sink appear.
In-Mold Sensors for Real-Time Process Monitoring
In-mold sensors for real-time process monitoring provide direct cavity pressure and temperature data during the injection cycle, enabling adaptive process adjustments before defects occur. These sensors track melt front velocity, viscosity shifts, and packing pressure decay, allowing closed-loop control for consistent part weight and dimensional stability. This data eliminates post-mold sampling guesswork by identifying sink marks or short shots immediately. The implementation sequence typically involves:
- Sensor placement at critical flow and packing zones using flush-mount thermocouples or piezoelectric pins
- Integrating analog signals with machine controllers via high-speed data acquisition systems
- Real-time comparison of live readings against validated process windows to trigger cavity pressure curve corrections
This enables zero-defect validation of high-strength brackets, intake manifolds, and lighting housings without interrupting production cycles.
Dimensional Verification with CMM and Optical Scanners
Dimensional verification using Coordinate Measuring Machines (CMM) and optical scanners ensures automotive injection-molded parts meet tight engineering tolerances. The process follows a clear sequence:
- Scan the molded component with a structured-light or laser scanner to capture a dense point cloud.
- Run software to align the scanned mesh against the original CAD model, highlighting deviations in color maps.
- Use a touch-probe CMM for critical datums, threads, or mating surfaces where submicron accuracy is mandatory.
This dual approach catches warpage, shrinkage, or cavity wear early, preventing costly assembly failures on the production line.
Mechanical Testing for Impact and Thermal Resistance
Mechanical testing for impact and thermal resistance in custom injection molding automotive focuses on validating that a part can withstand real-world stresses. Impact tests, such as Izod or Charpy methods, measure a material’s ability to absorb sudden force without fracture. Thermal resistance is assessed through heat deflection temperature (HDT) and Vicat softening point tests, which determine the part’s stability under elevated temperatures. For critical under-hood components, a specific sequence ensures reliability:
- Perform impact testing at both ambient and extreme cold temperatures to assess brittleness.
- Conduct thermal cycling to simulate repeated heat and cool cycles.
- Verify dimensional stability using heat deflection tests to confirm no warping under load.
Automotive-grade validation of these properties prevents failure from road debris or engine heat.
Key Design Considerations for High-Performance Automotive Parts
Selecting the Right Thermoplastic Material for Under-Hood Applications
How Mold Flow Analysis Predicts and Prevents Warpage in Large Panels
Designing for Uniform Wall Thickness to Avoid Sink Marks and Voids
Critical Process Parameters That Impact Part Consistency
Tuning Injection Speed and Pack Pressure for Filled Resins
Managing Mold Temperature to Control Crystallization and Shrinkage
Optimizing Cooling Channel Layout for Faster Cycle Times
Essential Features of Durable Injection Molds for Automotive Runs
Runner System Choices: Cold vs. Hot Runner for High-Volume Production
Selecting Steel Grades and Surface Textures for Wear Resistance
Integrating Core Pulls and Slide Actions for Complex Geometries
How to Evaluate a Molder’s Capability for Automotive-Grade Parts
Questions to Ask About In-House Tooling Maintenance and Repair
Verifying Process Documentation and Statistical Process Control (SPC)